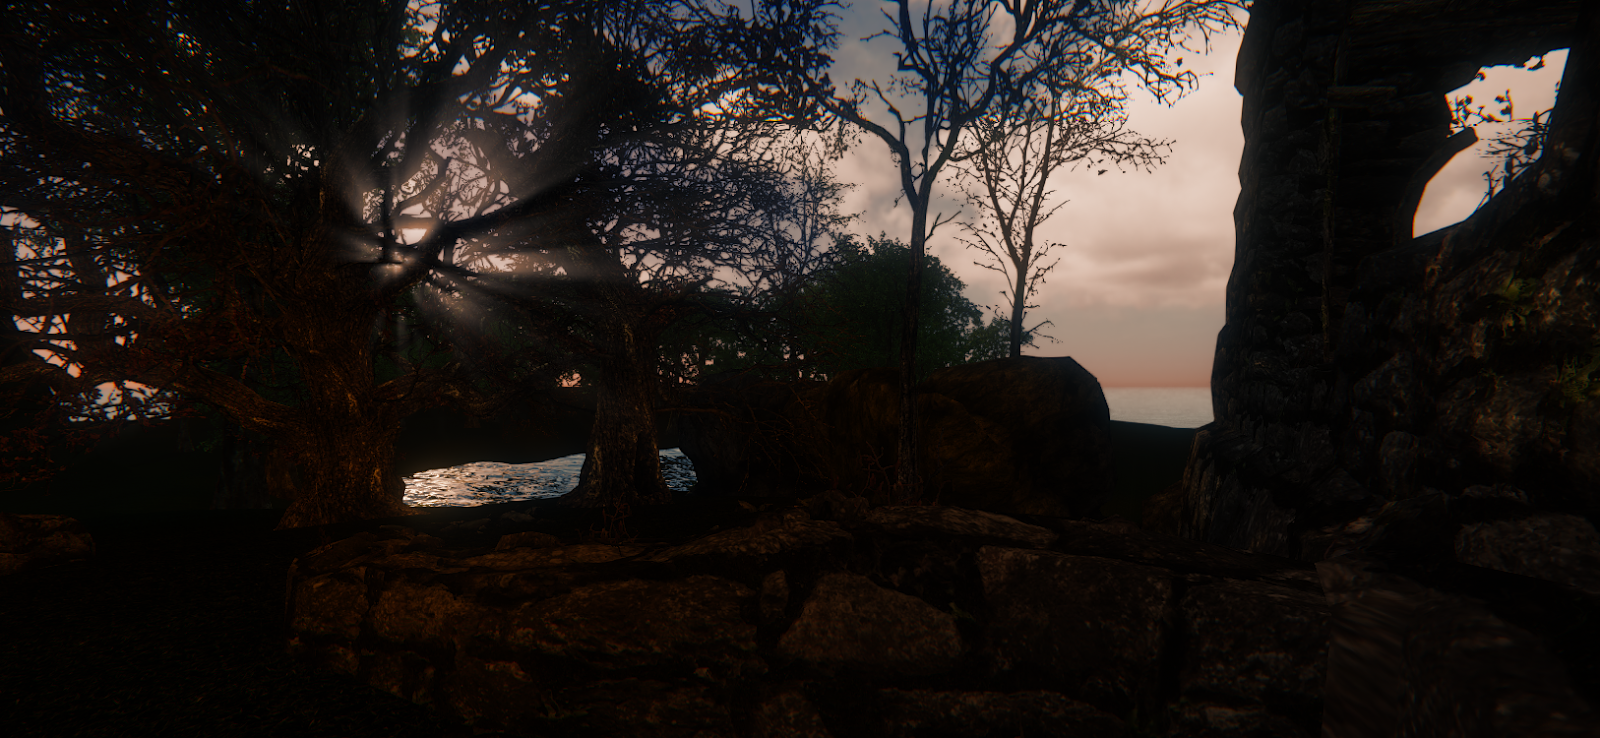
Sunday, November 16, 2014

Assignment 2

Strategy:
Initial plan was to destroy every single corner of the building, but it proved to be a difficult task, so I have created ceiling beams whose role is to represent the failure overtime. I also only modeled a part of the island.

CryEngine environment:

3ds Max file:

Draft:


Video clip:

Monday, October 20, 2014

Week 12


The lecture this week talks about the context of decay and we went over some movie trailers such as I am Legend, 28 Days After and The Day After Tomorrow that gives me some idea of how to represent the final decay of the buildings. The task for the day covers the overlaying diffuse mapping that will definitely be useful to represent the ageing and destruction of my selected architecture.

movie trailers:
1 2 3 4 5

Monday, October 13, 2014

Week 11


The lecture this week, we watched a series of videos that went through building decay process through disaster, explosions and even physical deconstruction of a building in Tokyo. This gave me some ideas of to avoid doing generic decay and start thinking of the context behind this project.

Friday, October 10, 2014

Week 10


There was no lecture this week. The exercise during the lab involved us to go to the library and search a book that represent a similar structure to the building that I'm doing. There was no exact match for the structure of Sao Paulo's Museum of Contemporary Art. There were only little sectional drawings in those books and none of them looked similar to this building. But I took pictures of the materials that I thought was used.

Monday, September 22, 2014

Week 8

Before


After


The lecture this week explained how materials are created. The most interesting one is the video that shows the process of concrete mix to strengthen to tie between the steel. The task for the day is to use CrazyBump to further make the material used more realistic, as shown above.

Thursday, September 11, 2014

Week 7

Even after ensuring the the file path is correct, the material still isn't showing on CryEngine. Will ask tutor next time.


Resolved:

Having the material image as cryTiff format solved it.


The lecture today went over the choice of buildings that we have for the assignment. We were also shown some examples of decay throughout time that might give us an idea of how to approach our design. Bumps of materials were also explained. The task for the day was quite challenging for me and although it took awhile, I could successfully imported a simple object.

Saturday, September 6, 2014

Assignment 1

Fully developed CryEngine environment


Strategy statement:

To tackle this project, I decided to focus on "mystic" aspect of the island. Since CryEngine isn't the best software to capture facial expressions of the characters, it was quite tricky to do horror or suspense genre. Fantasy-themes would do well since it focuses more on the environment rather than the character.

Draft


Trailer

Monday, August 18, 2014

Week 4 & 5

Classwork


This week's exercise helped me to gain the final touch for the island that is necessary to create a realistic environment. I tried to experiment with various aspects such as fog, rain, clouds and lighting. This will definitely help me with the assignment. All of these aspects were demonstrated in a level shown during the lecture and it shows what a great impact it is when they are combined.

Peer review

marked by Natalie Seeto


marked by Li Chuan Liang


Monday, August 11, 2014

Week 3

Class task


Independent


This exercise helped me to further experiment with CryEngine, adding entities, sound effects and lighting which will be useful to complete the first experiment satisfactorily. It also helped me to know more about Fraps and how to use it to generate screenshot of the environment as well as video.

Thursday, August 7, 2014

Week 2

Classwork


Independent


This exercise allowed me to grasp the basic of CryEngine, especially with terrain generation through the use of GeoControl or manually by rising/lowering/flattening terrain. It also taught me how to use the terrain brush to create suitable environment for my island.


Monday, July 28, 2014

Week 1

Sandbox Mode


  1. Sandbox editor/game files are located in Bin32 and Bin64 folders. The editor which is located in Bin32 folder is made for 32-bit based operating system, whereas the one in Bin64 is specifically for 64-bit based operating system.
  2. The game folder is where the composition of the games are stored, in .PAK format (animation, music, materials, textures etc). They can be opened using zip extractor software. To work with the files inside the .PAK separately, extract the file.
  3. To insert custom commands such as turning off blur and motion automatically in the editor, make a separate notepad file called user.cfg. They are loaded when a level is loaded.
  4. Open up SettingsMgr.exe at least once (located in the Tools folder) before working, and make sure there's green light under Engine State. Also make sure the root folder states the location of the build currently being worked on.
  5. To execute a manual install of CryTIF Plugin, go to Bin32 folder and copy: zlib1.dll, jpeg62.dll and libtif3.dll, then go to Tools folder, copy CryTIFPlugin file then paste them to Photoshop folder. Then paste CryExport file (based on the version of 3DS Max installed) from Tools folder into 3DS Max Plugin folder.

Tips and Trick

  1. Change camera angle and viewport aspect ratio by right clicking the text (Perspective) under the upper ribbon. The current resolution is shown on the right side.
  2. To hide/filter entities, hover an object you wish to hide and insert its entity name on the text box.
  3. Changing the pace in which you zoom in/out is available by altering the "speed" of the camera located under the viewport. The button located on the right side can be turned on/off and its function is to enable/disable the user to zoom through a certain terrain. Turning on AI/Physics will enable object movements.
  4. Console allows the user to input command. The user can click the three dots on the bottom right to view all the valid commands. Any error will appear in this bar.
  5. Hiding certain categories or render settings can be achieved by going into the fourth tab of the rollup tab. In this tab, the user can also execute debugging process.
  6. It is possible to export everything from the editor into .OBJ format to open in other modelling programs such as 3DS Max by selecting the item to be imported, File>Export selected...
  7. Grouping is often required in order to make the project much more organised and this can be achieved by going into the Group dropdown on the top after selecting a few objects. Prefab is essentially the same; however if a prefabbed object is copied and changes are made, they will apply to all copies. If any changes made are not update in real time, it is possible to reload them by going to Tools, instead of restarting the editor.
  8. Enabling/disabling selection of a specific item can be achieved by clicking the dropdown box "Select all" box. To select a portion of the terrain hence enabling the user to export it to .OBJ format, click the icon with arrow pointing up then select the desired part.
  9. To restrain the direction in which the user wishes to move their object to, activate the X/Y/Z icon. It can also be done by clicking on an object and move the arrow to the direction in which you want to move it to.
  10. CryEngine works with metres and hence the size of the grids (can be viewed by activating the snap to grid icon) and selecting an object.

Customising the Editor

  1. To avoid having too many windows open, it is possible to drag and drop each popup to another hence combining them. It is also possible to attach the popup windows on the main editor by simply dragging it to a desired position.
  2. To create a new toolbar, go to Tools > Customise Keyboard and in the Toolbar tab, click "New" button. A new empty toolbar will appear at the top. Switch to "Command" tab, search for a desired command then drag and drop it to the empty toolbar.
  3. Click the Rollup bar and bring up the customise window. Go to options and tick the "Show shortcut key in screentips". This allows the user to see the shortcut of an action by hovering over the icon.
  4. Open preferences window by clicking on Tools tab. By specifying "Selection Range" to "1" allows the user to select an object which is located behind another object by double clicking. It is also possible to adjust the time gap between autosaves. The user can also change the helper icons, highlight of selected object and a lot of other things through this window.
  5. "Configure user command" will open a popup window that the user can drag along the edge of the viewport to place it. This is essentially the most used action.

Viewports

  1. Move using the ASWD command and this can be achieved whether in edit mode or game mode. Mouse 3 allows the user to look around and mouse 2 to look up or down. Rolling mouse 3 allows zoom in/out
  2. By holding alt and mouse 3, the user can move the mouse around to rotate the camera on a certain spot.
  3. Goto position allows the user to jump to a specific coordinate.

User Interface Panel


  1. CTRL+G = engage game mode
  2. In the selection window, hide = H, freeze = F, delete = delete
  3. Asset browser allows the search of objects. To place selected object into the viewport, click on the image preview and drag it into the viewport. Alternatively, browse for objects from the brush button. Users can also view textures in this window. To search for a specific asset, click the box underneath and type a keyword.
  4. To alter  the properties and settings of a particle, select the particle and open up database view. Click on the dropdown box and search for the name of the selected particle.
  5. Changing the position of the sun by going to lighting setup by going to Terrain > Lighting
This week's lecture includes a variety of previous student work which allows me to gain some inspiration about the subtle and unique placement of the brief of this assignment, which is inserting the last letter of my last name and last number of my student ID into the environment to make it much more explorable and intriguing.